Learning how to take shallow depth of field photographs is an important part of improving your photography skills. This can be achieved by learning about the various techniques and understanding the variables. For example, the depth-of-field will depend on the distance between the subject (camera) and the fstop value. Charts can also be used to calculate fstops. Finally, it is important to know how to set the shutter release in order for different depths.
Techniques to achieve shallow depth of field
Shallow depth of field is an important technique for focusing your camera's lens to emphasize one area of your subject. This technique is used to direct the viewer's attention to the most intriguing parts of the image. It can also be used for blurring the background to create a feeling of depth.
You can achieve shallow depth of field with either a large aperture or a smaller one. Wide apertures allow more light to the sensor, resulting in less area of focus. This lens is very popular for portraits. However, it doesn't need to be a wide-angle lens. You can quickly change your aperture to create a shallow depth effect. A neutral density filter can be used if you don't need to alter the focal length of your lenses.
Another technique for achieving shallow depth of field is to increase the distance between your camera and your subject. This effect can be achieved even if you don't have a wide-aperture lens. You can zoom in and move away to achieve the same effect. You can take a photo of a tree by standing 20 feet away. The distance between the tree and your subject will give you a more soft background.
Charts for determining f-stop value
The aperture must be enlarged if you wish to achieve shallow depth of focus. This technique is great for portraiture and allows more light through the lens. Shallow depth-of field photographs are also known by the name shallow focus photos.
To determine the right depth of field value, you can use a depth of field chart. These charts can show you the depth of the subject as well as the fstop. They can also be printed out or laminated for convenience. It is crucial to choose the correct chart for your lens.
Usually, f-stops are measured in increments of one third. The smallest aperture size, f/8 is the smallest and the largest, f/16 is the largest. The bigger the aperture, the more light it allows into the lens. An aperture that is large will permit you to capture greater detail and contrast. A smaller aperture can reduce blurring and focusing. This will allow you to achieve a shallower depth-of-field.
Distance between camera and subject
Deep field photography is made possible by the distance between the subject of the camera and the camera. Changes in apertures can dramatically alter the out-of-focus areas as light passes through the lenses. In the same way, distance between subject (camera) and subject (subject) will determine the extent of the out of focus area. A larger aperture will result in a wider DOF. Conversely, a smaller aperture will result in a narrower DOF. You can alter the DOF by changing the focal length, moving closer or adjusting your aperture.
The distance between the camera and subject can vary, but generally speaking, the closer the subject is, the deeper the depth of field will be. For example, a close-up portrait may feature a background that is out of focus, while a landscape photograph might have trees and a river in the foreground while mountains several miles away are out of focus. This is because the distance between the camera and subject narrows as the rays of light travel through the lens. The DoF at the far end is therefore larger than that at the near end.
Focal length
Your focal length is a key factor in depth-of-field photography. Not only does focal length affect the subject's depth, but it also affects how sharp your image is. A longer lens will allow for a narrower DOF.
To calculate the DOF of your subject, measure how far it is from the lens. This is the depth-of-field ratio. The depth of field is proportional to how far away the subject is from camera. You can also increase the DOF by moving back or opening the aperture. However, it's important to remember that if the subject's distance is doubled, the focal length must also double. This means that the focal length is twice as important as the f/stop when it comes to defocusing.

A background that is longer in focal length will look bigger relative to the frontground. The background will appear more sharp if it is viewed from a narrower angle.
Focus distance
The main subject of depth-of field photos should always be in focus This will naturally draw the viewer's attention. The photographer must decide the proportions of the background and the foreground to be in focus. The distance from the background to the foreground's closest point and the farthest is called the depth-of-field.
The depth of field is a measure of how close the subject is to the camera. Different focus distances in depth-of field photos can make the subject appear closer to or farther away. Changing the focus distance can make the background appear blurred, too.
FAQ
How can I look good on pictures?
You can look great in photos if you take them yourself. Learn how to pose and what angles look best. Learn how to use lighting, props and other tools to enhance your natural beauty.
This course will teach you how to choose clothing that fits well, make-up that looks great, and hairstyles that flatter your face shape.
And if you're not happy with the results, we'll show you how to retouch your images using Photoshop and other editing software.
Take some self-portraits.
Cameras: Where to Buy?
You can find many places online to buy cameras. B&H Photo Video is a reliable retailer. They have knowledgeable staff to answer your questions.
B&H also ships quickly and securely, making it easy to get your order delivered to your door.
If you want to learn more about shopping for cameras, check out this video.
What equipment do I need to get started in digital photography?
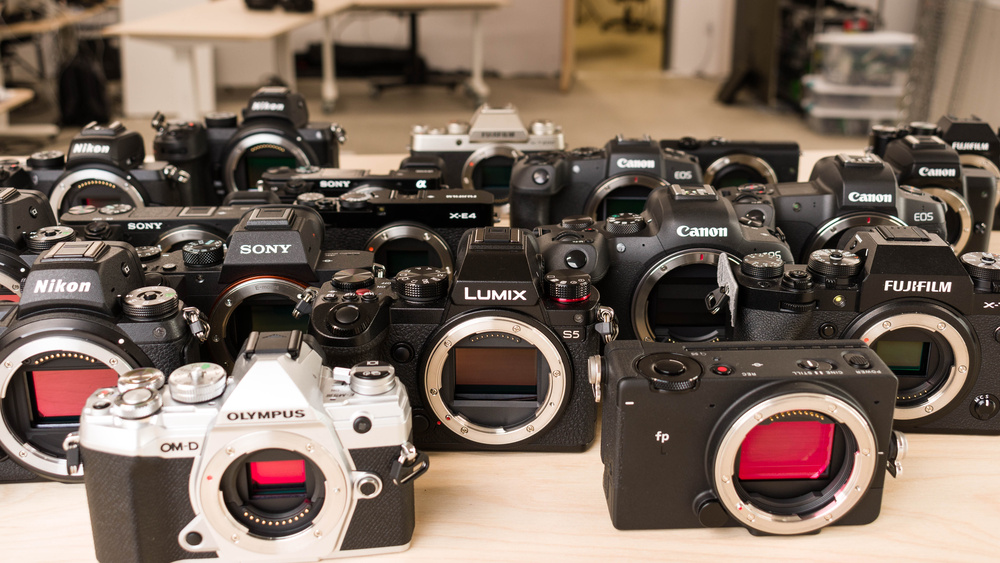
First, you need to decide what type of camera is best for you when you first start digital photography. There are many choices, including DSLRs (digital one-lens reflex cameras), point and shoot compact cameras, camcorders, smartphones, and camcorders. Each camera has different benefits and features. DSLR cameras, however, are larger and heavier than most other types of cameras. Point-and shoot cameras are lighter and smaller than other types of cameras and can often be set up automatically for certain situations. Camcorders can record excellent video and have some still photography modes. Smartphones are light and portable and can be carried around easily.
Once you've made a decision about the type and model of camera you want, then you must decide whether you want to buy it new or used. Used cameras can be found at reasonable prices, especially if they were purchased within the last few years. Because of the large amount of money that manufacturers spend on new technology, older models are more expensive.
Next, you will need to purchase lenses. Lenses play a key role in determining the quality of your photographs. They let you adjust the focal length to zoom in and out of the scene, without losing focus. Some lenses have built-in flash units, while others require external flash units. There is a wide selection of lenses available from different brands. Each lens has its own characteristics.
Finally, you'll need to buy memory cards. Memory cards save pictures taken with your camera. It can hold hundreds to thousands of photos, depending on how big your card is. Multiplying your memory cards is necessary if you are going to be taking lots of photos.
What is the best camera for beginners?
The best camera for beginners depends on your budget, needs, and skill level.
If you are looking to save money, then a point and shoot digital camera might be the best option. These cameras offer good quality but aren't very versatile.
Digital Single Lens Reflex (DSLR) cameras have interchangeable lenses that allow you to shoot various types of shots. These lenses are usually more expensive than point-and shoots, but offer greater flexibility.
A beginner's kit is the best place to begin if you are new to photography. The package includes everything you need: a camera, lens, memory cards, tripod, flash and a camera body.
Do not forget to get extra batteries!
Statistics
- This article received 13 testimonials, and 100% of readers who voted found it helpful, earning it our reader-approved status. (wikihow.com)
- The second easiest way to get blurry photos 100% of the time is to use a cheap filter on the front of your lens. (photographylife.com)
- Get 40% off Adobe Creative Cloud(opens in new tab) (creativebloq.com)
- In this case, 100% of readers who voted found the article helpful, earning it our reader-approved status. (wikihow.com)
External Links
How To
How to Take Portrait Photos
Portraits are important because it shows who you really are. They can also tell your life story. While you may have one favorite photo of yourself as a child, you now want to take something different. It is easy to forget the joy of taking photos. Here are some tips to help you get started.
-
Make sure you have enough light. The best time to shoot portraits is early morning or late afternoon. Avoid direct sunlight shining directly onto your face, if flash is used. This will wipe out any details. It is best to avoid shooting at midday. There will be too many shadows.
-
Use a tripod. You won't be able to see movement if you keep the camera still. That means you'll miss the chance to freeze action. You can also set up your flash first, even if you are using it. After that, turn off the flash again and start over.
-
Take close-ups. Closeups can be very useful for showing detail. But they can look fake unless you've got a good eye. Pay close attention and observe the noses, eyes, and mouths. Is there anything out of the ordinary? Do you see someone with glasses? Are there freckles on her nose? These features add depth and dimension to an individual's appearance.
-
Don't force smiles. Smiles are tricky. Most people smile naturally when they feel happy, but others don't. You can't force smiles, because it looks forced. Consider what makes you smile. Perhaps you laugh at silly things, such as a cat jumping through an hoop. You might even love the process of paint drying. Whatever it is, keep thinking about it until you start laughing.
-
Get creative. People tend to think that they are boring. However, being boring is not a bad thing. Find ways to get out of the normal. One way to break the mold is to ask him to hold his hands behind his head. Perhaps you could suggest having him put on a funny hat.
-
Keep practicing. It will take you a lot of practice to improve at taking photos. As you improve, you will be able to see more interesting events around you.
-
Have fun! It should be fun to take photos. If you enjoy the process, you'll be more likely to do it again. You might even end up with some pretty cool photos.
-
Show off your work. Share your photos with family and friends once you have learned how to take great pictures. Let them know why you took the photo. Show them where you went. Tell them about your adventures.
-
Be patient. Sometimes, you won't get it right. It happens to everyone. Don't worry. Don't worry. Just move onto another image.