iPhone photo tips can help you create more appealing images. One simple trick is to use the rule of thirds. This composition principle divides an image into three thirds, and places main subjects along grid lines. To make use of this rule, you can turn on the grid lines in the camera settings. A second trick is to use straight lines as the leading lines. Leading lines help the viewer navigate through the image. It is important to practice this technique with a variety subjects in order to reap the benefits.
Camera app zoom
You can manually adjust the zoom on iPhone 8 Plus and later models. Although there is a zoom wheel in the camera app it doesn't display the focal lengths of any lenses. Instead, the zoom wheel shows dots that indicate the focal length. The same method applies to Max and Plus models. To perform this trick, you will need to learn how to zoom in using the camera application.
Burst Mode
While you're taking photos with your iPhone, you may wonder how to turn on burst mode. It works the same way as the shutter button does, but instead of snapping a bunch of photos all at once, your phone takes a single, large photo. After the burst finishes, swipe through the photos to view your favorites. You can also save them. However, burst mode photos look just as good if you use the shutter button.

Compositional grid
Make sure you activate the compositional grid when taking a photo with your iPhone. This tool allows you to see how your composition affects the overall composition of your photo. The grid makes it easier to see the lines and places your subject in close proximity. By avoiding putting the subject in the middle of the frame, you can create more eye-catching photos. You can also make your photos look more balanced and harmonious by using a compositional grid.
HDR mode
HDR mode on the iPhone is a great option to avoid backlighting and foreground bleakness in your photos. You can manually darken the rest of the image, highlight the shadows and then capture the HDR photo. To automatically capture HDR photos on your iPhone, set it to auto mode, activate the HDR function, and wait for the effects to take place. It will take a little longer for the iPhone to capture a HDR photo than a normal shot. The HDR mode needs three shots at different exposures.
Cropping
You can create a completely new product by cropping your iPhone photos. Even though you may not have paid attention to the background while taking the original picture, cropping later will remove all extra elements. Cropping gives you another chance to create the perfect composition. Cropping can make your image more interesting. Here are some examples to show you how to crop iPhone pictures to create unique compositions.
Editing
Editing iPhone photos can be difficult, especially if your are new to the world of photography. This article offers step-by–step editing workflows for three distinct types: selective lighting and color adjustments. Once you are familiar with how these edits work, it is easy to make your own iPhone photo editing workflows. Follow these steps to create stunning iPhone photos that won't cost a lot.
Time-lapse photography
The iPhone makes it easy to capture time-lapse photos. It is also a great tool for documenting events or scenes over time. As with any time-lapse technique, you'll need a tripod, some patience, and a good angle for the subject. Here's how you do it. Make sure to charge your phone fully before you start taking photos. Taking time-lapse photos is fun, and it only takes a few minutes once you get the hang of it.
FAQ
How can my phone improve my photo skills?
You don't need expensive equipment to take great photos! With just a smartphone, you can capture amazing images.
It is easy to learn how to use its various features and some basic techniques.
There are many apps for iOS and Android devices that can edit and share pictures.
These five tips will help you take better photos.
-
Set Up Your Camera App. Your camera app should already be installed on your device. If it is not installed, you can download it from Google Play.
-
Use Effects & Filters. You can alter the appearance and feel of your photo using filters and effects.
-
Adjust the exposure. Adjusting the exposure can help you control the brightness in your picture.
-
Photograph in the Right Light Photographing in bright lighting makes it easier for you to see details within your subject. You can capture highlights and shadows in low-light conditions.
-
Take Pictures Of People. You can share the things that you love most by taking photos of others.
To learn more about how to take better photos, check out our article: 5 Tips To Improve Your Photography Skills On A Smartphone.
How can I become a professional photographer?
Photography is an art form that requires patience, dedication, passion and dedication. If you love photography, you'll be doing better than if only you were going after the money.
You should learn how your camera works. You need to be able to comprehend composition, lighting, exposure, depth-of-field, and other aspects of photography. A good understanding of Photoshop is also necessary.
Photographing is not an easy task, but once you have mastered it, there is nothing more satisfying than creating images that capture moments that are lost in time.
You can improve your skills by reading books, attending classes, and participating in competitions. This way, you will gain experience and confidence, leading to improvement. What equipment is required?
It really depends on what kind of photography you like to do. If you are interested landscape photography, you will need to have a wide-angle zoom lens.
A telephoto lens will be a must if you are interested in portrait photography.
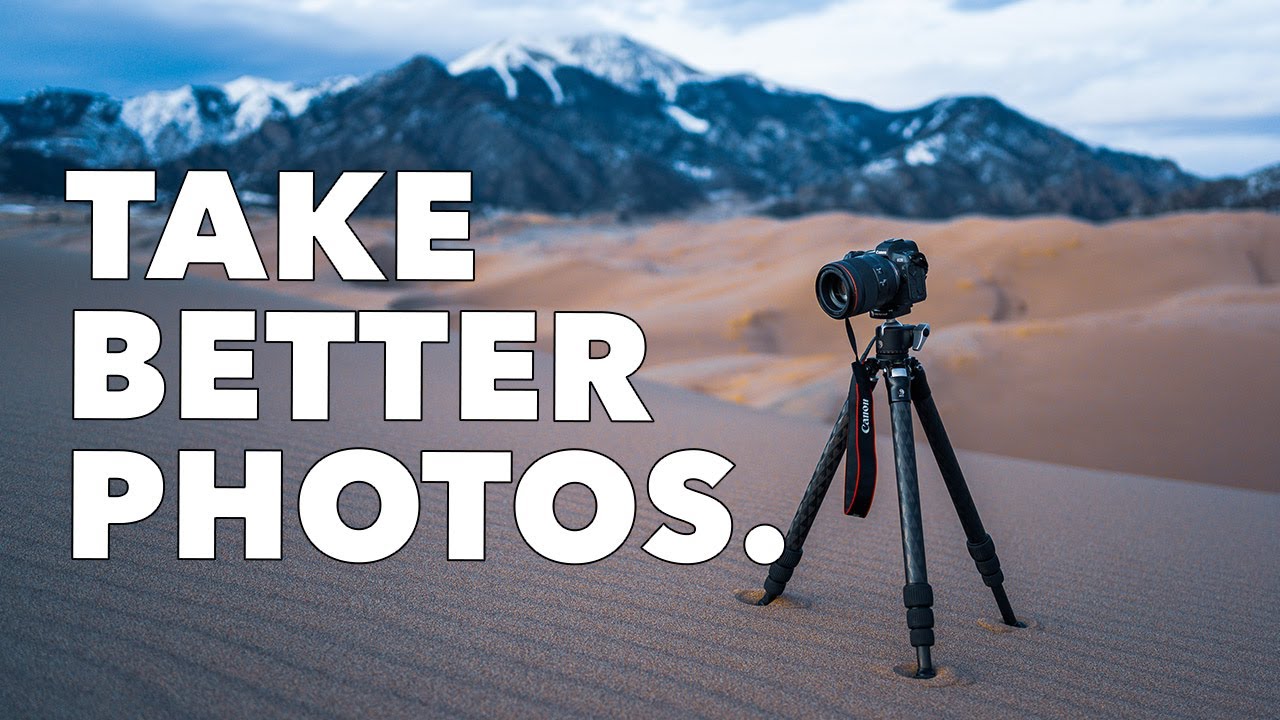
A tripod is crucial for taking photographs. It allows you stand up and compose your photo without moving.
Camera bags are great for carrying your accessories, such as memory cards and cameras.
If you have a compact digital camera, a flash unit will be necessary.
An DSLR (Digital Single Lens Reflex) is the best camera for beginners wanting to take professional quality photographs.
DSLRs are very popular because you can control every aspect of the photo including shutter speed, apertures, ISO sensitivity and white balance. A variety of features are available such as autofocus and auto-exposure locks, bracketing, self-timer, and RAW formatting.
Should I begin photography as a hobby.
Photography is a wonderful way to share memories with family and friends. Photography allows you to see the world from a different perspective.
You can find a lot of online resources that will teach you how to take better images.
You might also consider enrolling in classes at nearby community colleges or art schools. This will allow you to network with other photographers who can give valuable feedback on your work.
Is digital photography hard?
Digital photography is not as simple as it seems. To use digital photography properly, it takes patience and effort. It is important to be familiar with the settings that are best for each type of shot. Learning by doing is the best way to learn. Practice makes perfect.
Statistics
- That's the easiest way to get blurry photos 100% of the time. (photographylife.com)
- While I cannot prove that all of those spots were not sensor dust, the photo was taken during a heavy snowstorm…so I guess that 99.8% of the spots are snowflakes. (bhphotovideo.com)
- This article received 13 testimonials, and 100% of readers who voted found it helpful, earning it our reader-approved status. (wikihow.com)
- Get 40% off Adobe Creative Cloud(opens in new tab) (creativebloq.com)
External Links
How To
How to take pictures in low lighting conditions
Low-light Photography is when you take photos in dimly lit or dark environments. It requires special equipment and techniques. The key challenges are in controlling exposure, white balanced, and sharpness. Low light photography can be divided into two categories: ambient and flash. Flash photography works well when you have enough light. However, if there's not enough natural light around you, you'll need to use flash. For example, if your subject is indoors but outside, there might not be enough light to capture a good picture without a flash. Try shooting at night, during the moonlit hours, if you don't need a flash. You will get beautiful shadows and colors. Another option is shooting at twilight. Twilight occurs when there is still daylight but the sun has set.
You might also be interested in long exposures. Long exposures let you capture images even after the shutter has been open several minutes. The shutter must be closed so that the camera only records light that hits the sensor. This light continues to fall onto a photo sensor throughout a prolonged exposure. The shutter is still closed so no light can enter the lens. Therefore, there is very little movement. Turn off autofocus and autoexposure to ensure you get clear images. Also, make sure that you adjust the ISO setting before you start shooting. An ISO setting of 200 allows you to adjust how bright or dark the image looks. Finally, when you're ready to take the shot, press the shutter button quickly. This causes the shutter to close completely. Keep the shutter button pressed down until the last second. You can prevent any additional light entering your camera by holding the shutter button down. Wait a few seconds after you have taken the photo before you release the shutter button. This allows the camera's to process the image. While your image processing is taking place, you will be able to view your photos on your screen. Once you're satisfied with them, save them to your computer.